How to Create a New Sequence
Design a customized sequence of messages.
How to Create a New Sequence:
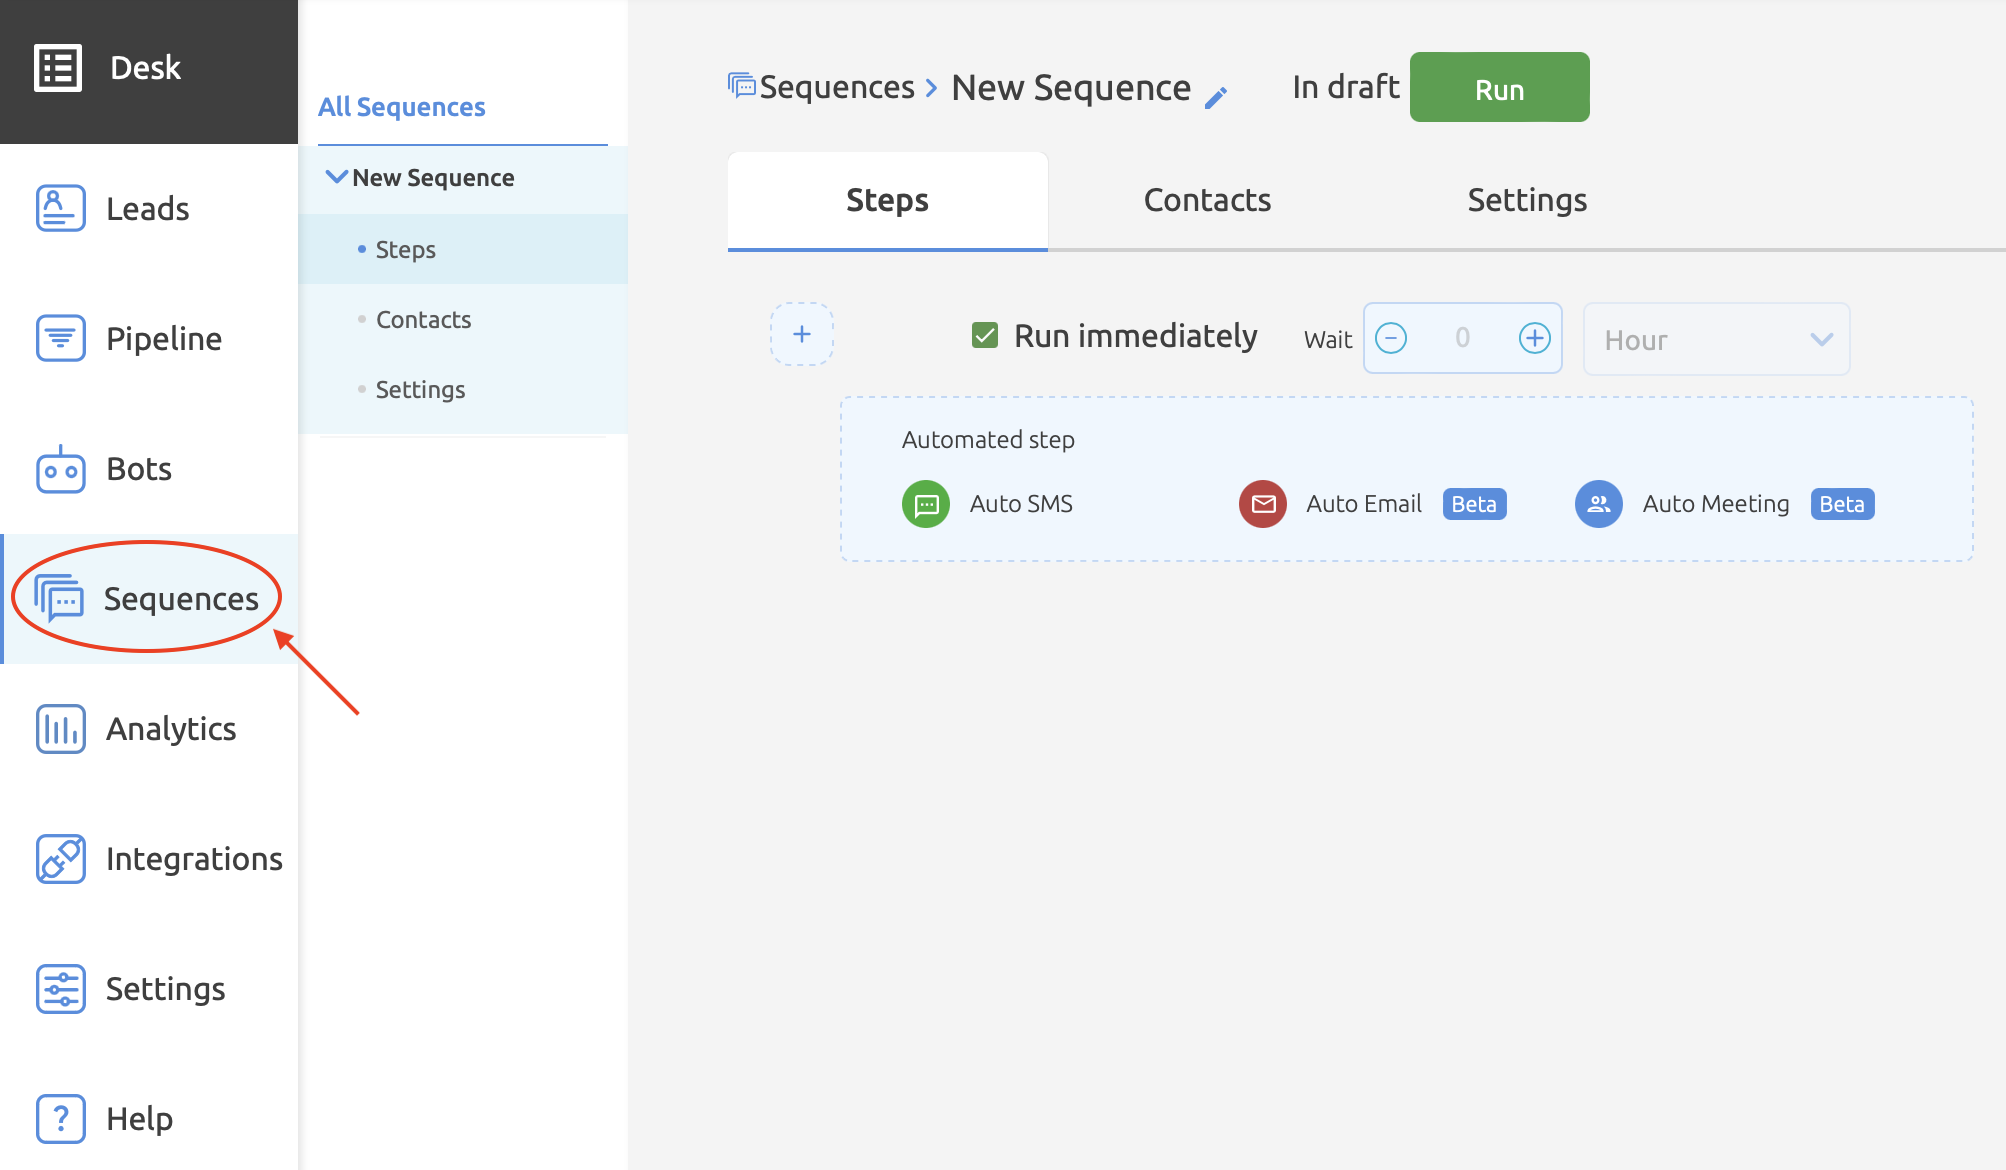
1. Navigate to “sequences” on the left-hand side of the dashboard.
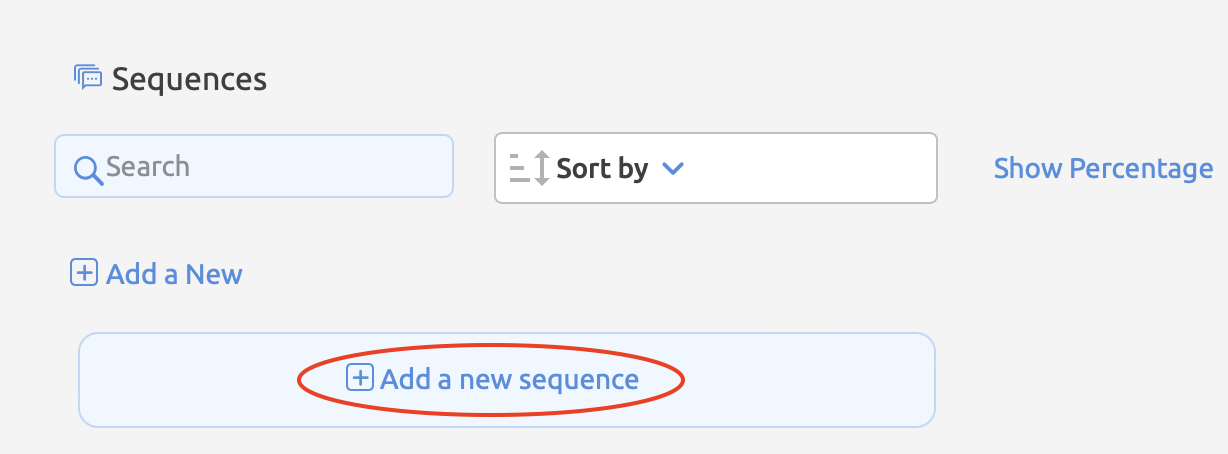
2. Select “add a new sequence.”
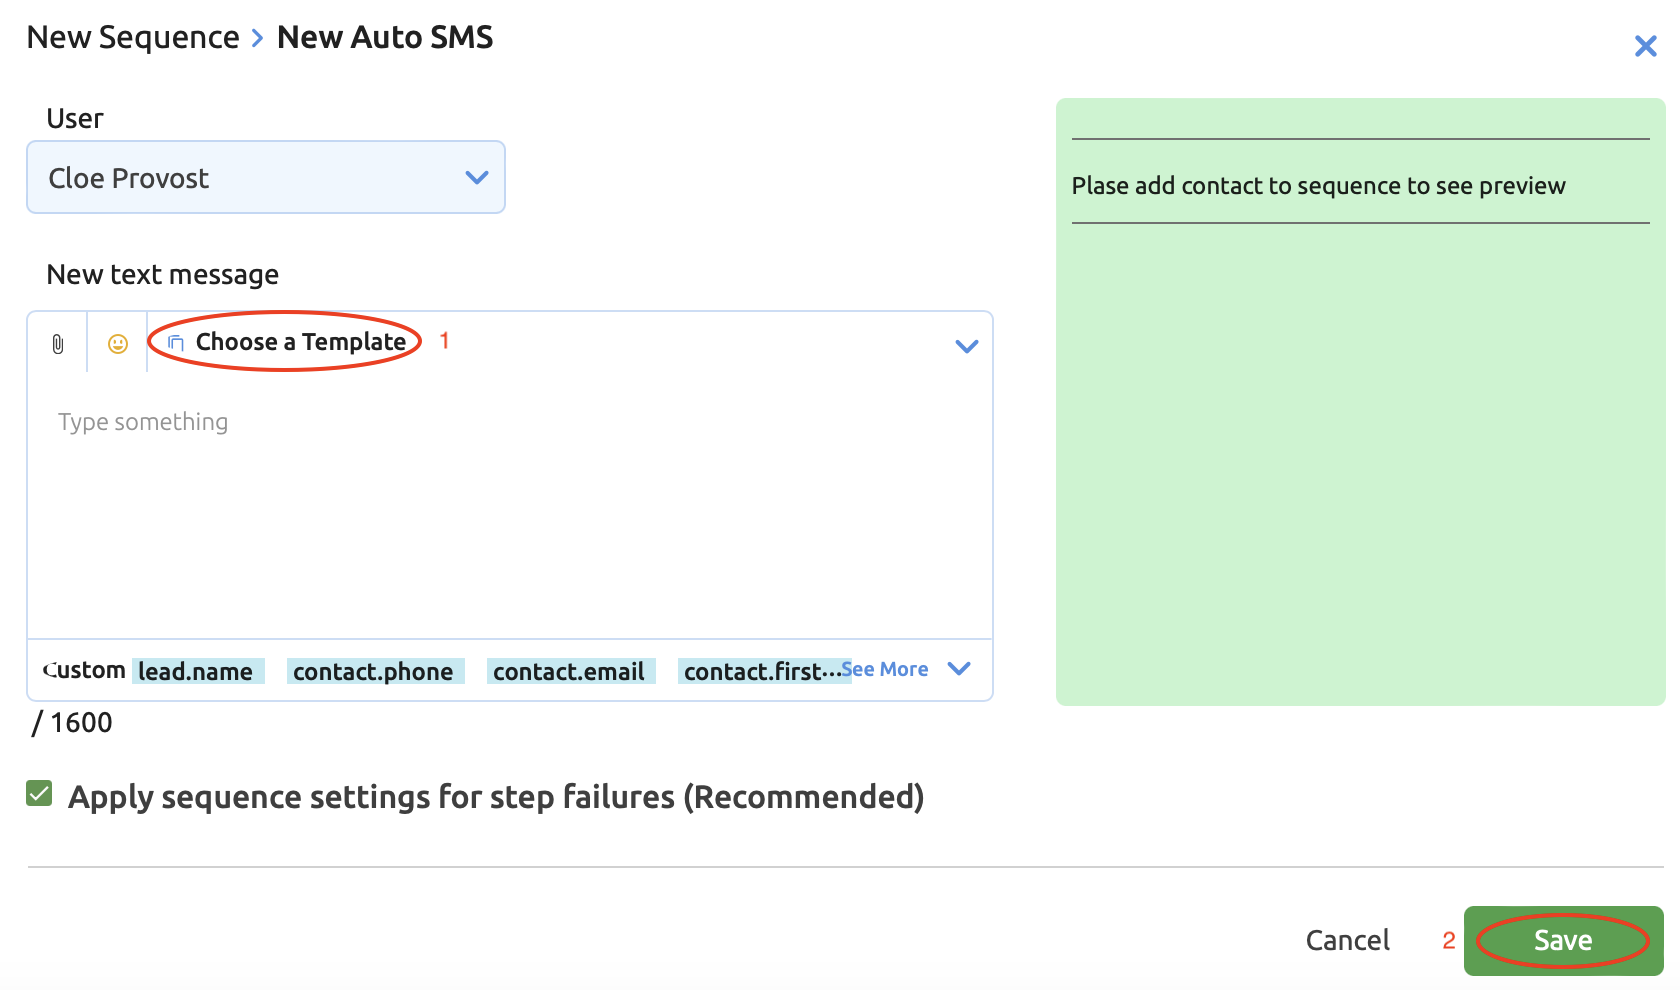
2. You can begin a sequence with a text message, email, or meeting. For this example, we will be using text. The first step is to click “auto sms.”

3. You can then either type out a message or choose from a pre-existing template. Be sure to hit “save” once you’re finished.
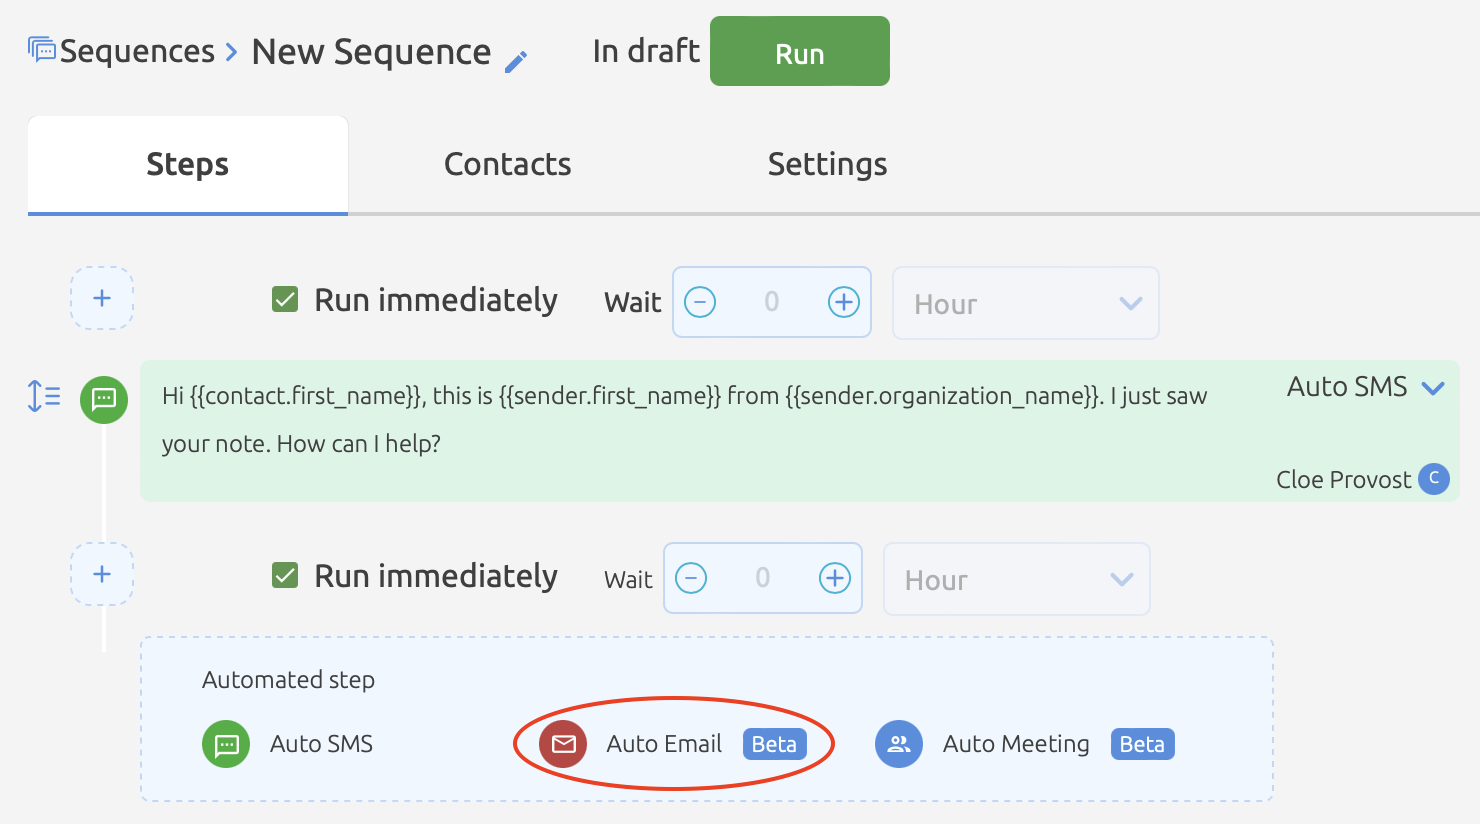
4. Next, you can add additional steps to the sequence such as sending an email. For this, you will select “auto email.”
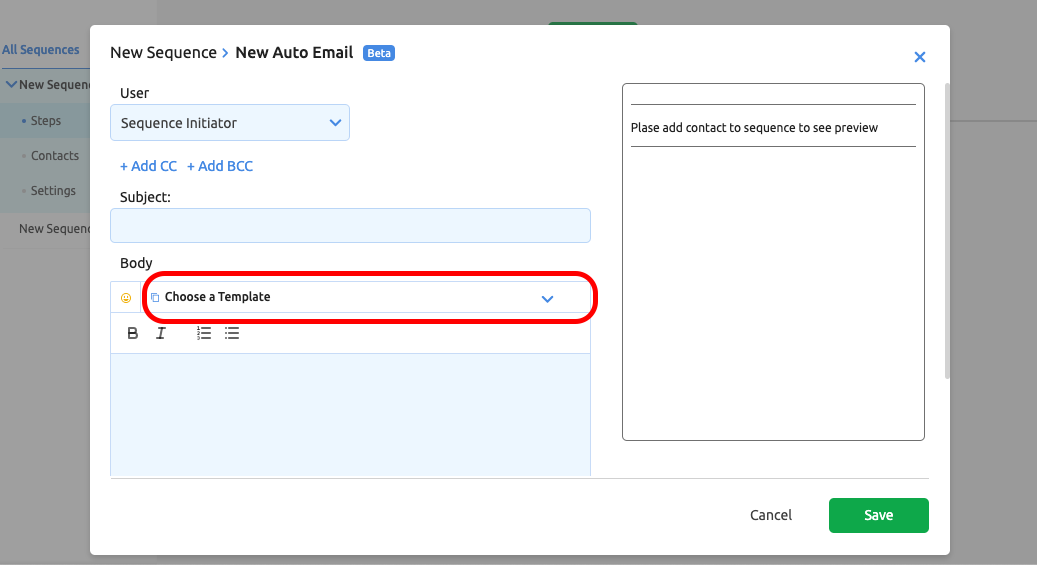
5. When setting up the email you will choose who the message is being sent by and a subject line. You also will be able to write text or use a template for the body content. Once you're finished, be sure to save the changes.
6. You can also add a meeting invite to sequences. This is most commonly used for internal workflows. To do so, you will select "auto meeting," and fill out the information.

7. Fill out all meeting fields. Be sure to save changes.
8. Continue any of these steps as many times as you'd like to complete the sequence.
9. Once it's ready to be sent, hit "run."
Pro Tips
1. Your Google or Microsoft account must be connected for meetings to work properly. For more information read our article, How to Connect Google Workspace/GSuite.
2. If you need help adding contacts to your new sequence read the article How to Add a Contact.
3. When choosing the sender of a text or email, remember there is a difference if you select "Sequence Initiator" instead of a person's name. If you choose "Sequence Initiator," the sender will appear as whoever on your team added the contact to the sequence. If you select a sender's name, the message will be sent from that person every time.
4. For more information about the different settings and details within sequences check out the video in the article How to Edit a Sequence.
.svg)
